I had time during the new year holidays, so I went online to look for a web framework to develop web applications in golang. I accidently lended on the hugo site and discovered this awesome tool. The concept is very simple: you can easily generate a static website in a few minutes. This was quite different from what I was looking for, but it looked interesting and I decided to give it a try. hugo is suitable for blogging or creating simple websites, and I loved the workflow: to give you an overviiew, here is how I add a new post.
# Create the post
$ hugo new post/my_post
# Edit it
$ code content/post/my_post
# Verify
$ hugo server
# Build
$ hugo
# Commit and push
$ cd public
$ git add --all
$ git commit -am "my_post"
$ git push
Et voila, the new blog post is online and available to the world to see. I love the fact that I can do all the editing, verifying on my local PC. This means that I can edit whenever, even when offline and commit/push later. Cool right? I know that hugo has been out there for a while, but I want to take the chance to talk about the steps I took to build this blog.
Installing Hugo
Installing hugo is pretty simple. You can either download the appropriate package from this page or install with go get if you are a gopher. Mac users can also install with brew:
go get
$ go get -u github.com/spf13/hugo
This will install hugo in your $GOPATH/bin directory. If you’ve already added this directory in your $PATH, you should be able to invoke the hugo command from your shell.
brew
$ brew update && brew install hugo
That’s it.
Creating your site
hugo provides many commands to create, edit, and generate contents for your site. The first step is to create the site:
$ hugo new site my_site
This command will generate all the files you need to get started with your hugo site under a my_site directory:
$ cd my_site
$ ls -l
total 8
drwxr-xr-x  2 kemal  staff  68 Jan 11 01:21 archetypes
-rw-r--r--  1 kemal  staff  82 Jan 11 01:21 config.toml
drwxr-xr-x  2 kemal  staff  68 Jan 11 01:21 content
drwxr-xr-x  2 kemal  staff  68 Jan 11 01:21 data
drwxr-xr-x  2 kemal  staff  68 Jan 11 01:21 layouts
drwxr-xr-x  2 kemal  staff  68 Jan 11 01:21 static
drwxr-xr-x  2 kemal  staff  68 Jan 11 01:21 themes
The most important files you have to edit are the config.toml file and the md files you are going to edit for posting blog articles in your site.
Adding a post
It’s as simple as:
$ hugo new post/my_post.md
This will create the a my_post.md file under content/post. You can open this file with your prefered text editor and add your contents.
After editing you can use the hugo command to start a server locally and preview your site:
$ hugo server
ERROR: 2017/01/11 01:30:43 server.go:132: port 1313 already in use, attempting to use an available port
Started building sites ...

...
Serving pages from memory
Web Server is available at http://localhost:54181/ (bind address 127.0.0.1)
Press Ctrl+C to stop
If you go to http://localhost:54181, you’ll not see anything as we haven’t specified a theme to display our contents.
Adding a theme
You need to add a theme before you can view or generate your static site. Many open sourced themes are available to use from the official hugo site. You can start from here, or if up to the task, follow the hugo documentation to create your own themes.
Hugo themes site
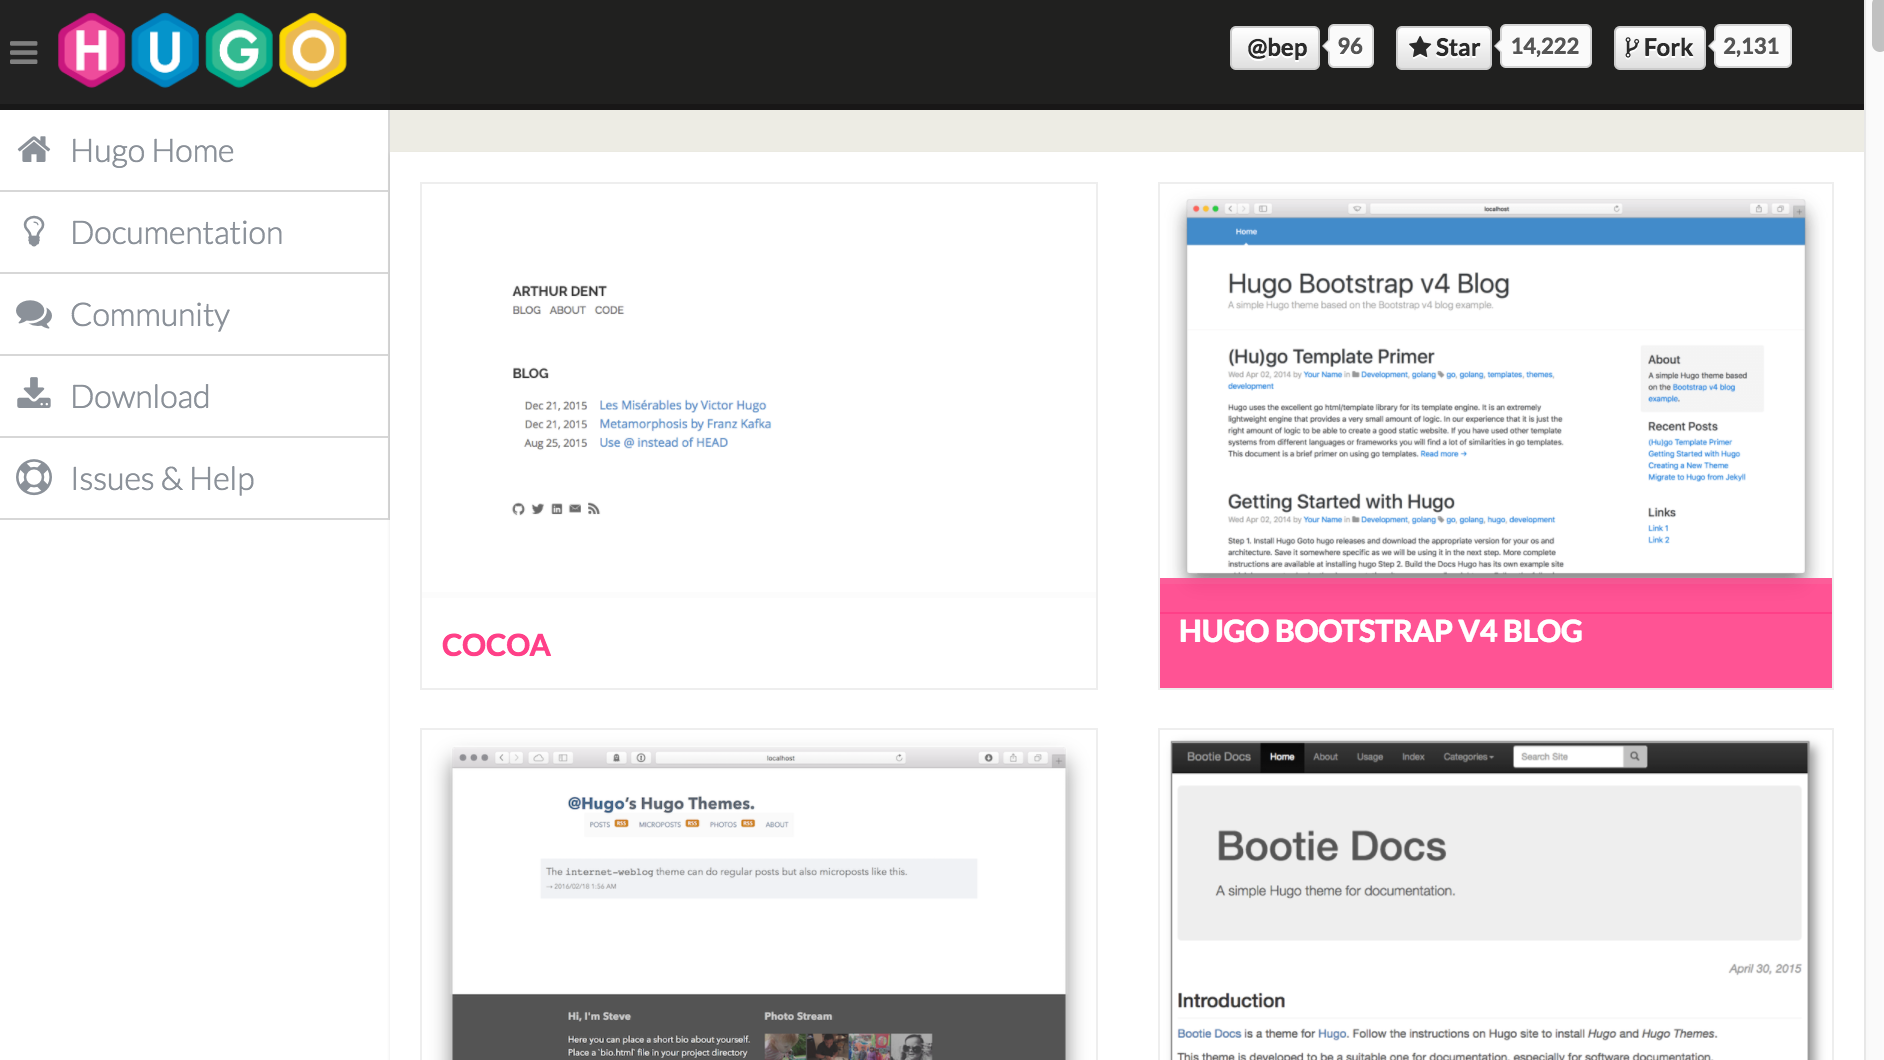
You can browse here and choose the theme of your liking.
Installing the theme: just following the instructions in the theme’s page. In most cases, you just need to clone a git repository under the themes directory in your hugo site.
ええっと、適当にテーマを選んで。。。
$ cd themes
$ git clone https://github.com/jbub/ghostwriter
Now with the --theme option, we can preview our site
$ hugo server --theme=ghostwriter
...
Serving pages from memory
Web Server is available at http://localhost:60765/ (bind address 127.0.0.1)
Press Ctrl+C to stop
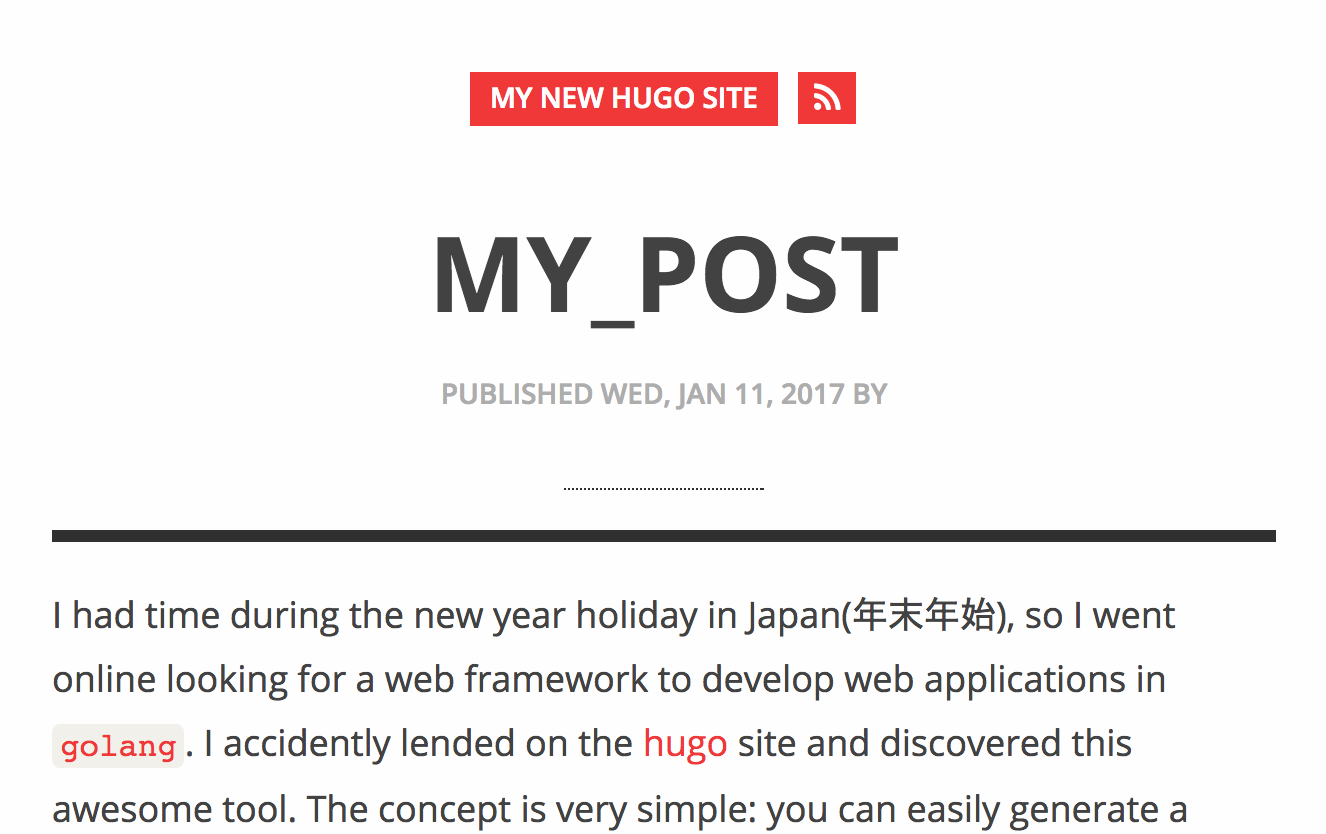
If you go to http://localhost:1313, you should be able the preview our generated site.
Top page

The post we just edited
You must note that every theme comes with custom functionnalities, usually configurable with the config.toml file under your side. Check the documentation of the theme you want to use and configure as needed. First copy the config file in the example site of your prefered theme to your site directory and modify the configurations to suit your preferences. If the config file is well documented, you should be able to configure without referring to other onlile resources.
# backup the current config file
$ cp -p config.toml config.toml.`date +%Y%m%d`
# copy the theme's example config
$ cp -p themes/ghostwriter/exampleSite/config.toml .
# configure
$ vi config.toml
Build and generate the static contents
Forenote: after invoking the hugo command to build the site, hugo will generate all the contents under the public directory in your hugo site. Now since I want to publish the site on github, I want to create the public directory as a clone of the github repository that will host the site. So before the very first build, I want to create an empty repository on github and clone it to public. To create a github page, the repository hosting the site must have the name in the form of <username>.github.io . In my case, I created the repo btaars.github.io . The next step is to create a clone of this repo under public:
$ git clone https://github.com/btaars/btaars.github.io.git public
Cloning into 'public'...
warning: You appear to have cloned an empty repository.
Now to build the site, just invoke the hugo command under your hugo site directory:
$ $ hugo
Started building sites ...
Built site for language en:
0 draft content
0 future content
0 expired content
1 regular pages created
2 other pages created
0 non-page files copied
2 paginator pages created
0 tags created
total in 29 ms
You should see the contents generated under the public directory
$ cd public/
$ ls
2017        dist        index.xml   page        sitemap.xml
404.html    index.html  js          post        styles
That’s it.
Now that our site is ready, we can build and generated the static contents, ready for publishing. There are many ways to do so, like hosting your static contents on s3, or a virtual machine on the cloud. But an even more easy way to publish is to use github pages.
Publishing on Github
Since the public directory under our site is a clone of our target github repo, we just need to commit and push:
# Check status
$ git status
On branch master

Initial commit

Untracked files:
  (use "git add <file>..." to include in what will be committed)

        2017/
        404.html
        dist/
        index.html
        index.xml
        js/
        page/
        post/
        sitemap.xml
        styles/

nothing added to commit but untracked files present (use "git add" to track)
# Add, commit and push
$ git add --all
$ git commit -am "my_post"
$ git push
Counting objects: 30, done.
Delta compression using up to 4 threads.
Compressing objects: 100% (21/21), done.
Writing objects: 100% (30/30), 46.92 KiB | 0 bytes/s, done.
Total 30 (delta 5), reused 0 (delta 0)
remote: Resolving deltas: 100% (5/5), done.
To https://github.com/btaars/btaars.github.io
 * [new branch]      master -> master
That’s it. In just a few minutes, the site should be online at https://<username>.github.io . In my case that is https://btaars.github.io .
From this stage, adding new posts looks just like the steps I mentioned at the beginning of this article.
Reference
- Hugo site: http://gohugo.io/
- Github pages: https://pages.github.com/